DIMy: Radiator Cover
 July 15, 2010
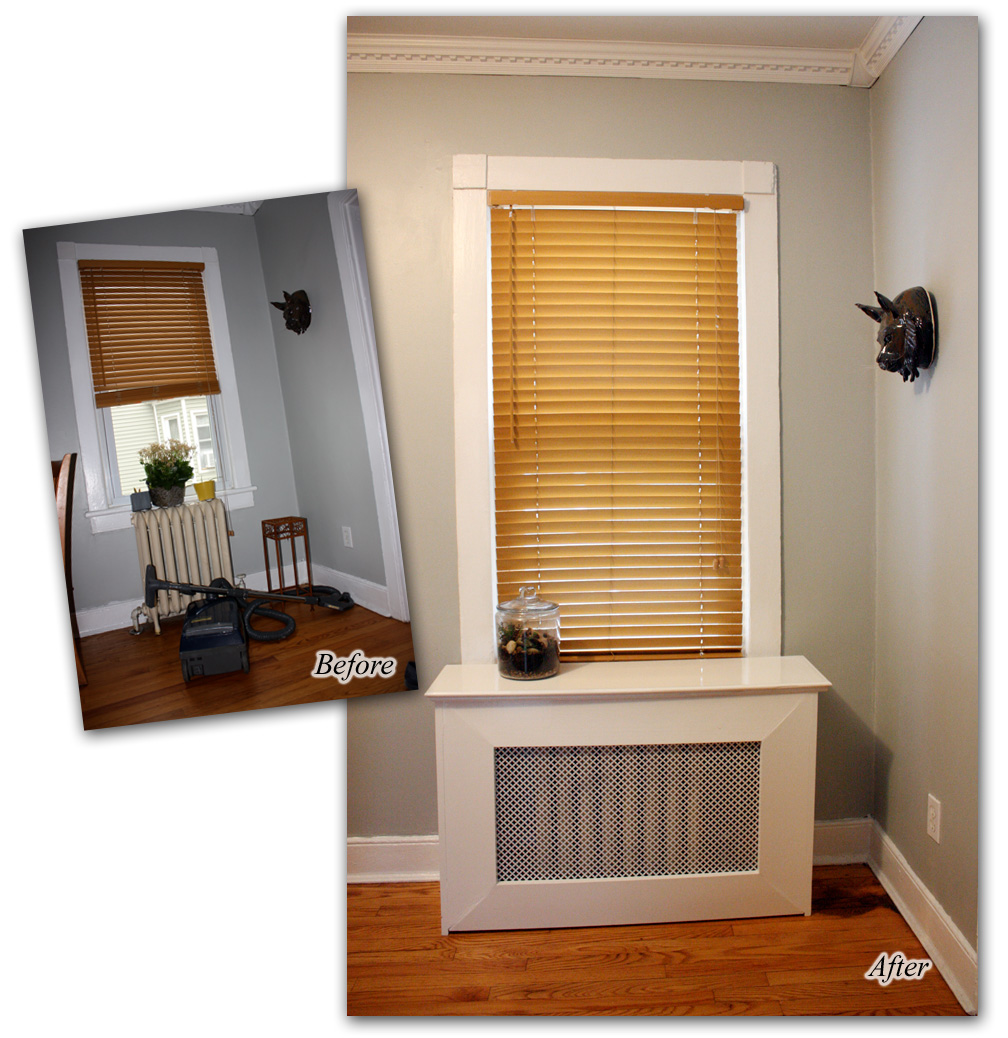
 I complete my first major woodworking project: a radiator cover!
We haven't really used our dining room because it's just a room with a crappy table and feels very unwelcoming. There are a lot of other things to do in the room: refinish the table, get a rug, put something on the walls...but the #1 thing on my list was to build a radiator cover so my plants would have a sunny home and my cat might have a place to gaze out the window.

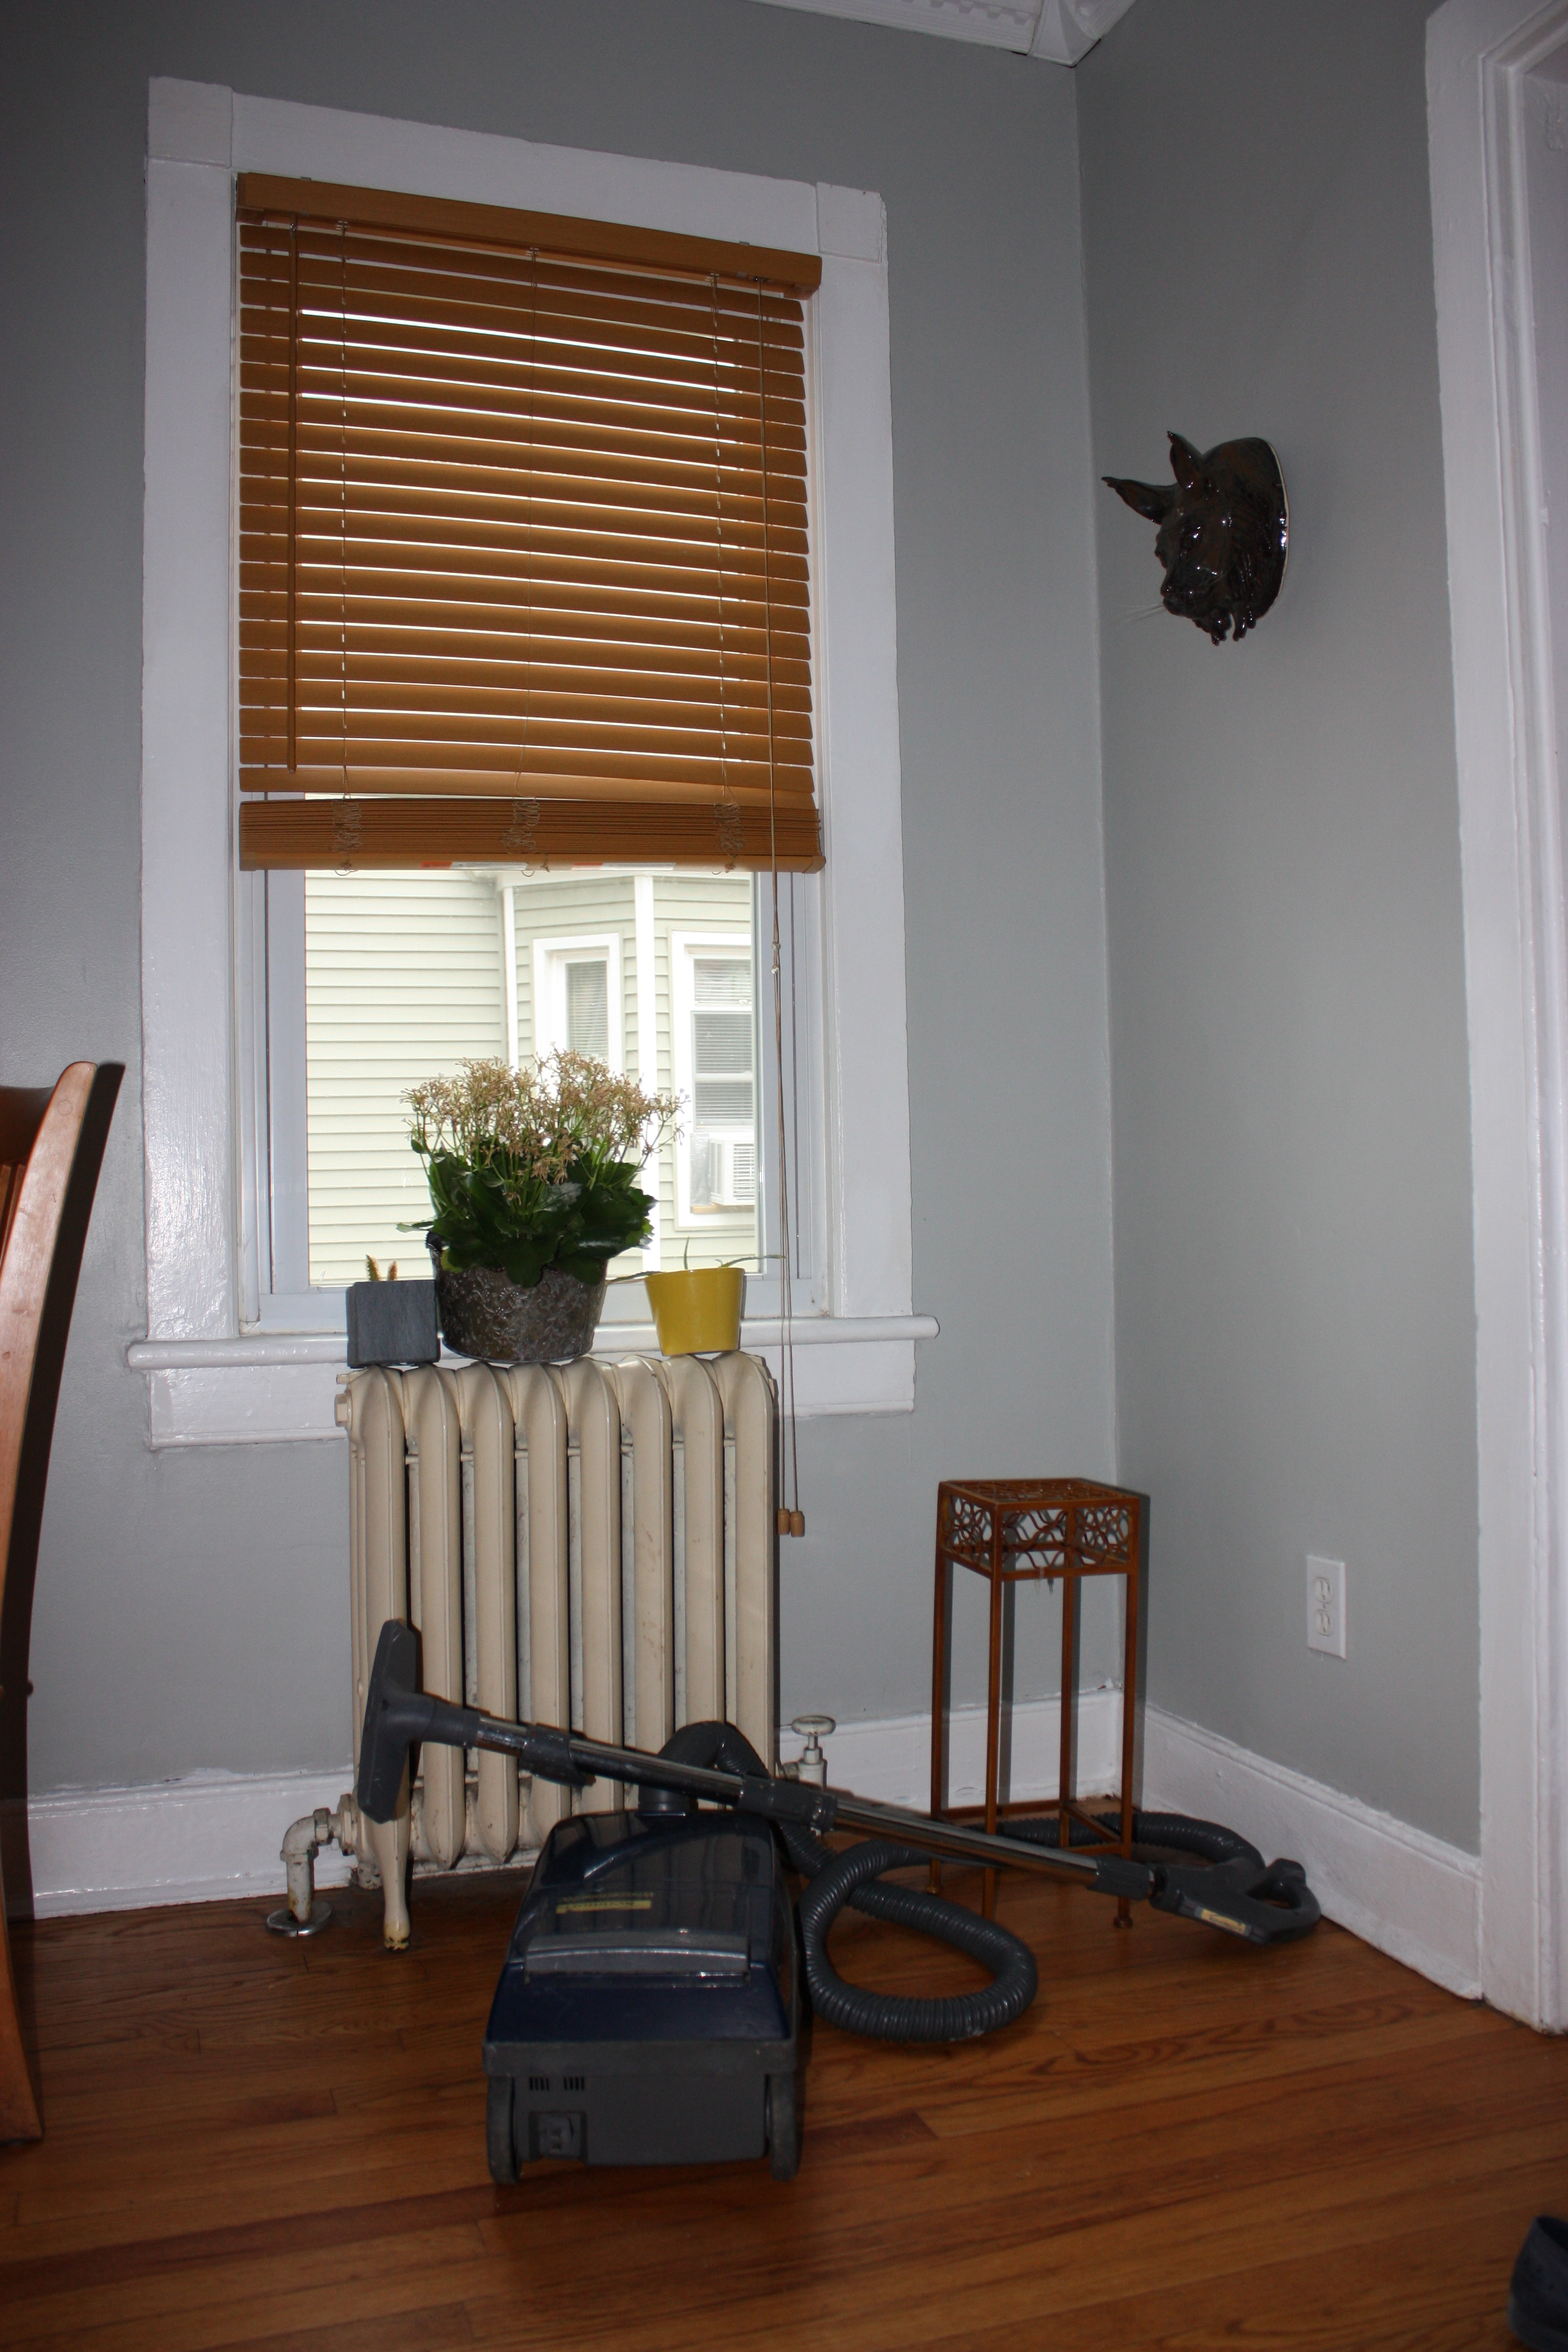
 This is how the corner normally looks. I'm sure it's clear why I was so desparate to build the cover.
Over the last few months I've watched the how-to videos a hundred times, talked to a handyman about building the unit, talked to a company that makes custom built radiator covers, and even my mom pulled out magazine clippings from 1983 about constructing radiator covers.
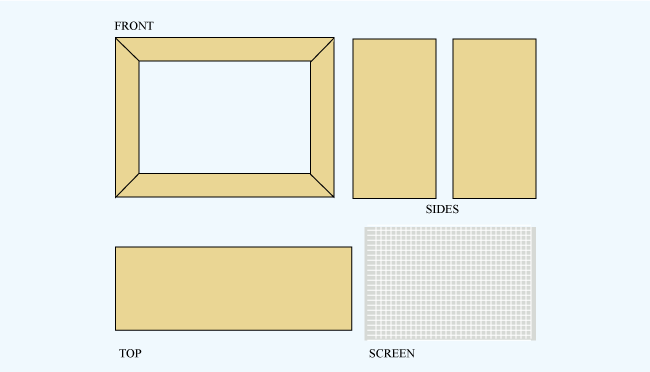
I finally decided that I could do this myself and designed something based off the unit already built in my living room. This design is made up of 2 sides, 1 top, 1 screen, and 4 pieces of wood with mitered edges to form the front frame.

By choosing this design I had made the decision to purchase a miter saw. I first planned on using a miter box and circular saw (two items I already owned), but my gut told me it would be difficult and probably a waste of wood and time.
I bought a 10" miter saw from Lowe's for $99. It was actually $114, but was priced wrong so I saved $15! I'm sooooo glad I bought the saw. Cutting the wood on perfect angles was super easy after a little practice and I'm excited to use it for future projects (and wish I had it for my raised garden bed frames!)
Mr. Miter - my new best friend!
Not gonna lie - my edges didn't line up so I had to fill with wood filler. I need to work on my math.
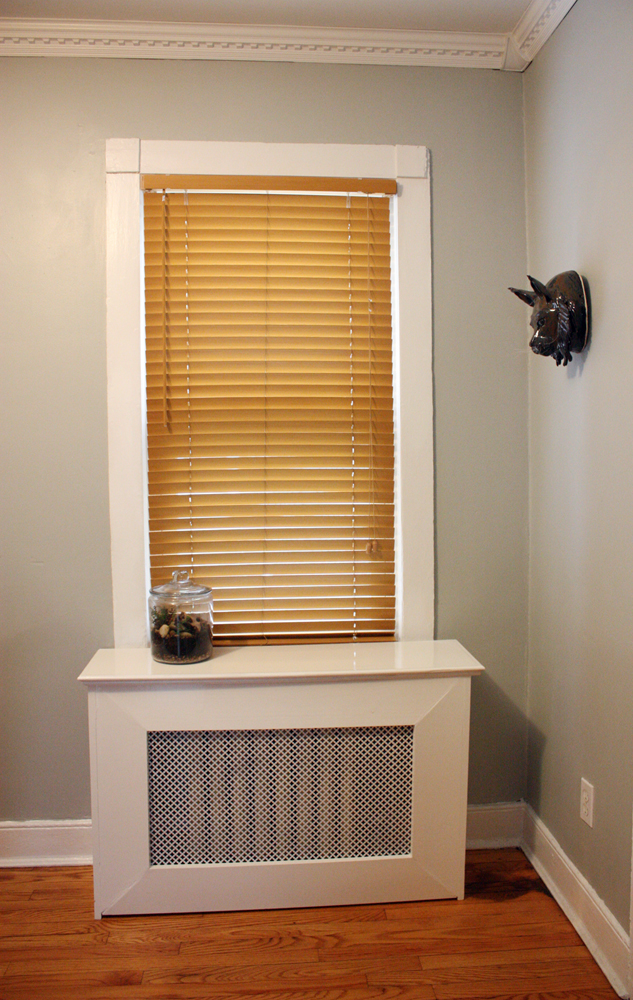
 Ahhhhhhh - it feels good to have things looking so clean and neat.
 |
|  1 Comment


Reader Comments (1)
That is a really nice modern, well designed, well crafted cover. Excellent job, better than some professionals I'd say!