DIY: String Globe Shade
 September 2, 2011
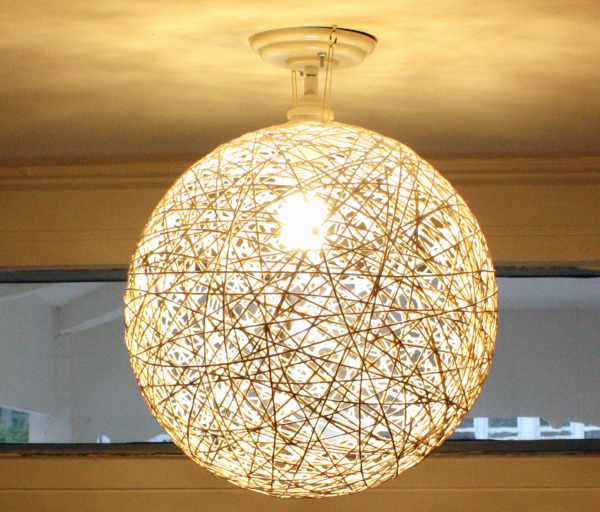
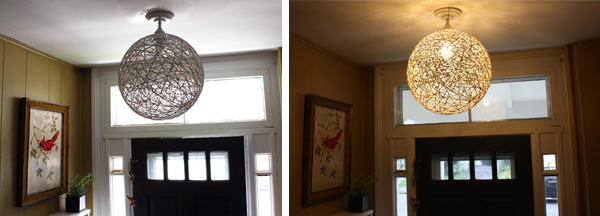
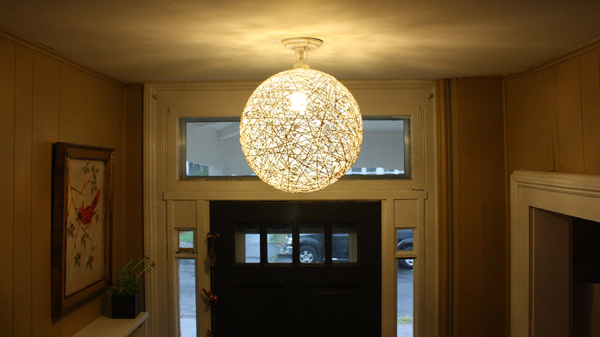
 Our downstairs entryway was in need of a new light fixture - a bare bulb is hardly welcoming. However, as a freelance designer I'm always on tight budget and everything I liked left me deciding between the new fixture and groceries for the month. So, I came up with a DIY lamp shade that would fit over the pendant fixture and bulb already in place. The total cost for this gorgeous, modern light fixture shade? A mere $5.
If you have a couple hours, five bucks, water and flour, you can make this string globe shade over your next free weekend. Instructions are below.
Supplies
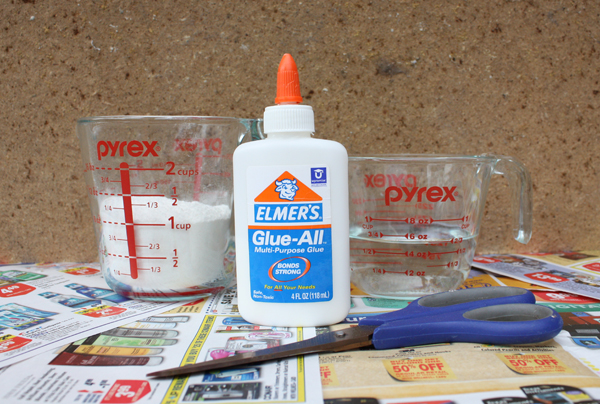
- 1 cup white flour
- 1 cup water
- 1/2 cup craft glue
- 100% cotton yarn/string (I used a spool of 120 yards)
- balloon or ball that can be popped (note: if you want perfectly round globes, you're best off using a ball. Balloons tend not to blow up perfectly round and they also deflate and change shape.)
Instructions
Making the Shade
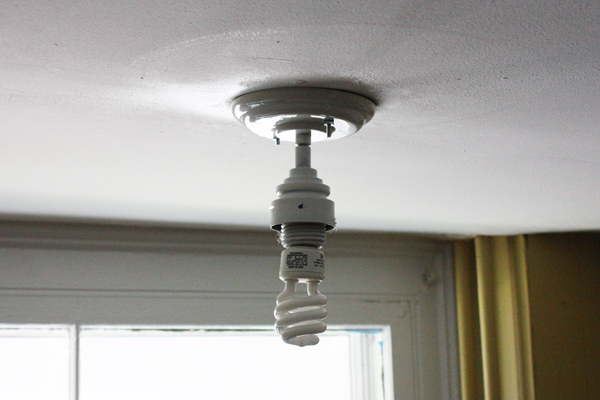
1. Install some kind of pendant lamp and determine how large you want your globe shade. Make sure it won't be knocking anyone on the head and that the light bulb won't be touching any sides of the shade.
2. Mix up your papier mache solution: in a large bowl combine the flour, water and craft glue. You want the solution to be somewhat thin - not watery, but also not thick like cake batter. The solution should drip and not clump. Add more water if it's too thick, add more flour if it's too thin.
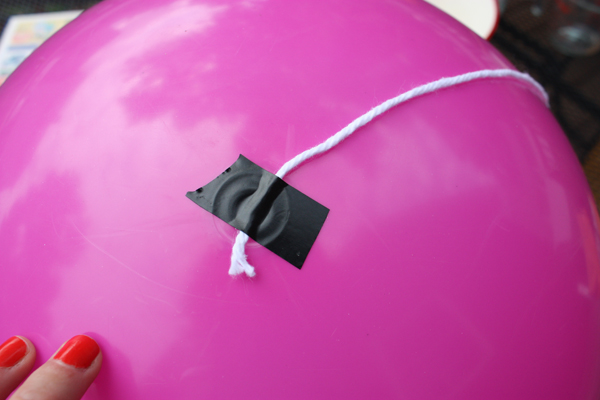
2. It helps to tape one end of the string to the balloon or ball before you start. Masking tape would be best, but I used electrical because I was too lazy to walk upstairs.
3. Now is about the time that my dog got mad at me for not paying attention to her. If you have a dog or cat you should occupy them with a chew toy or cat nip before you start this project.
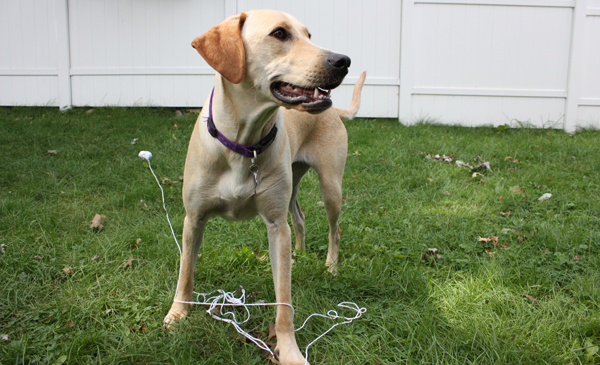
4. The next step is the bulk of the project. The string should be soaked in the papier mache solution before you start wrapping it around the ball/balloon. Don't be afraid to wrap tightly. If you run out of yarn and want to start a new spool just tuck the new end under a criss-cross and keep wrapping.
tip: when you wrap the string, choose one area to keep clear from string. This space should be big enough to go over the light bulb. If you're not able to do this don't worry, you can alway snip clear an area with scissors once the string is dry.
5. Let your finished globe dry for a minimum of 24 hours. In humidity and cooler weather you may have to let it dry for up to 48 hours.

6. Make sure your string is totally dry and then comes fun step: POP! your ball/balloon and carefully remove the debris.
7. Optional. Place your string globe in large cardboard box and use spray paint to brighten up the white, change the color, or add gloss to the string. Let it dry according to the can's directions.
Hanging the shade
1. Test how your shade will cover the light bulb and if necessary, use scissors to snip away the string.
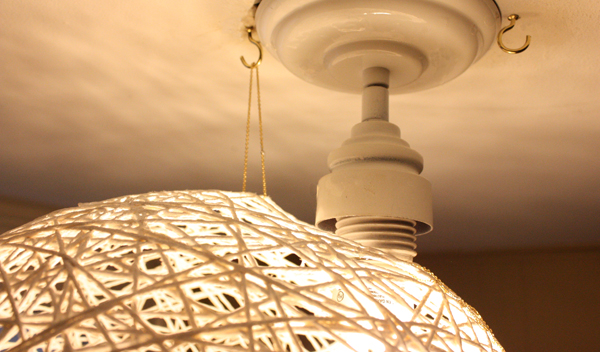
2. The shade can be hung in a few ways. I used cup hooks and gold chain to hang mine. Cup hooks easily screw into the ceiling by hand.
3. Enjoy your beautiful new globe shade!
 |
|  8 Comments


Reader Comments (8)
this is amazing. i want to make with you please and thank you.
Hi Ryan! This is Raquel. I love your site. This is awesome! I'm going to try it.
Best,
R
Um, I absolutely LOVE this, Ryan! I will totally remember to do this when I have a home of my own one day. Thank you!
Hey,Thats amazing..I like your idea..Wonderful creative mind..I am definitely going to try to make this balloon globe shade..Thanks!!
generic viagra
kamagra
I loved this..I'm going to try it for sure at home..
What an awesome tutorial! Many thanks for sharing, it looks great and I can't wait to give it a try.
Hi, how did you remove the ball off.. did you deflate it or cut through it.
I read a post somewhere else about making a string ball light shade and was directed to use petroleum jelly (vasoline) on the ball/balloon prior to wrapping the string to make it easier to remove the ball/balloon. Would you advise to do this?